[HowTo] Streaming Like It's 1998
My yearning to watch Card Captor Sakura has lead me here.

Image Source: Bettmann Archive
The Saga
A few months back, I picked up a lightly used Toshiba CF13E23 (with the original box!!!) from Facebook Marketplace.

I am ashamed to say that this purchase was, in fact, the THIRD CRT I’ve acquired in recent years. Better yet, the prior two continue to go unused for any purpose other than sitting neatly in the corner of my storage room. So, you might ask, why another? Ultimately, I’m just picky.
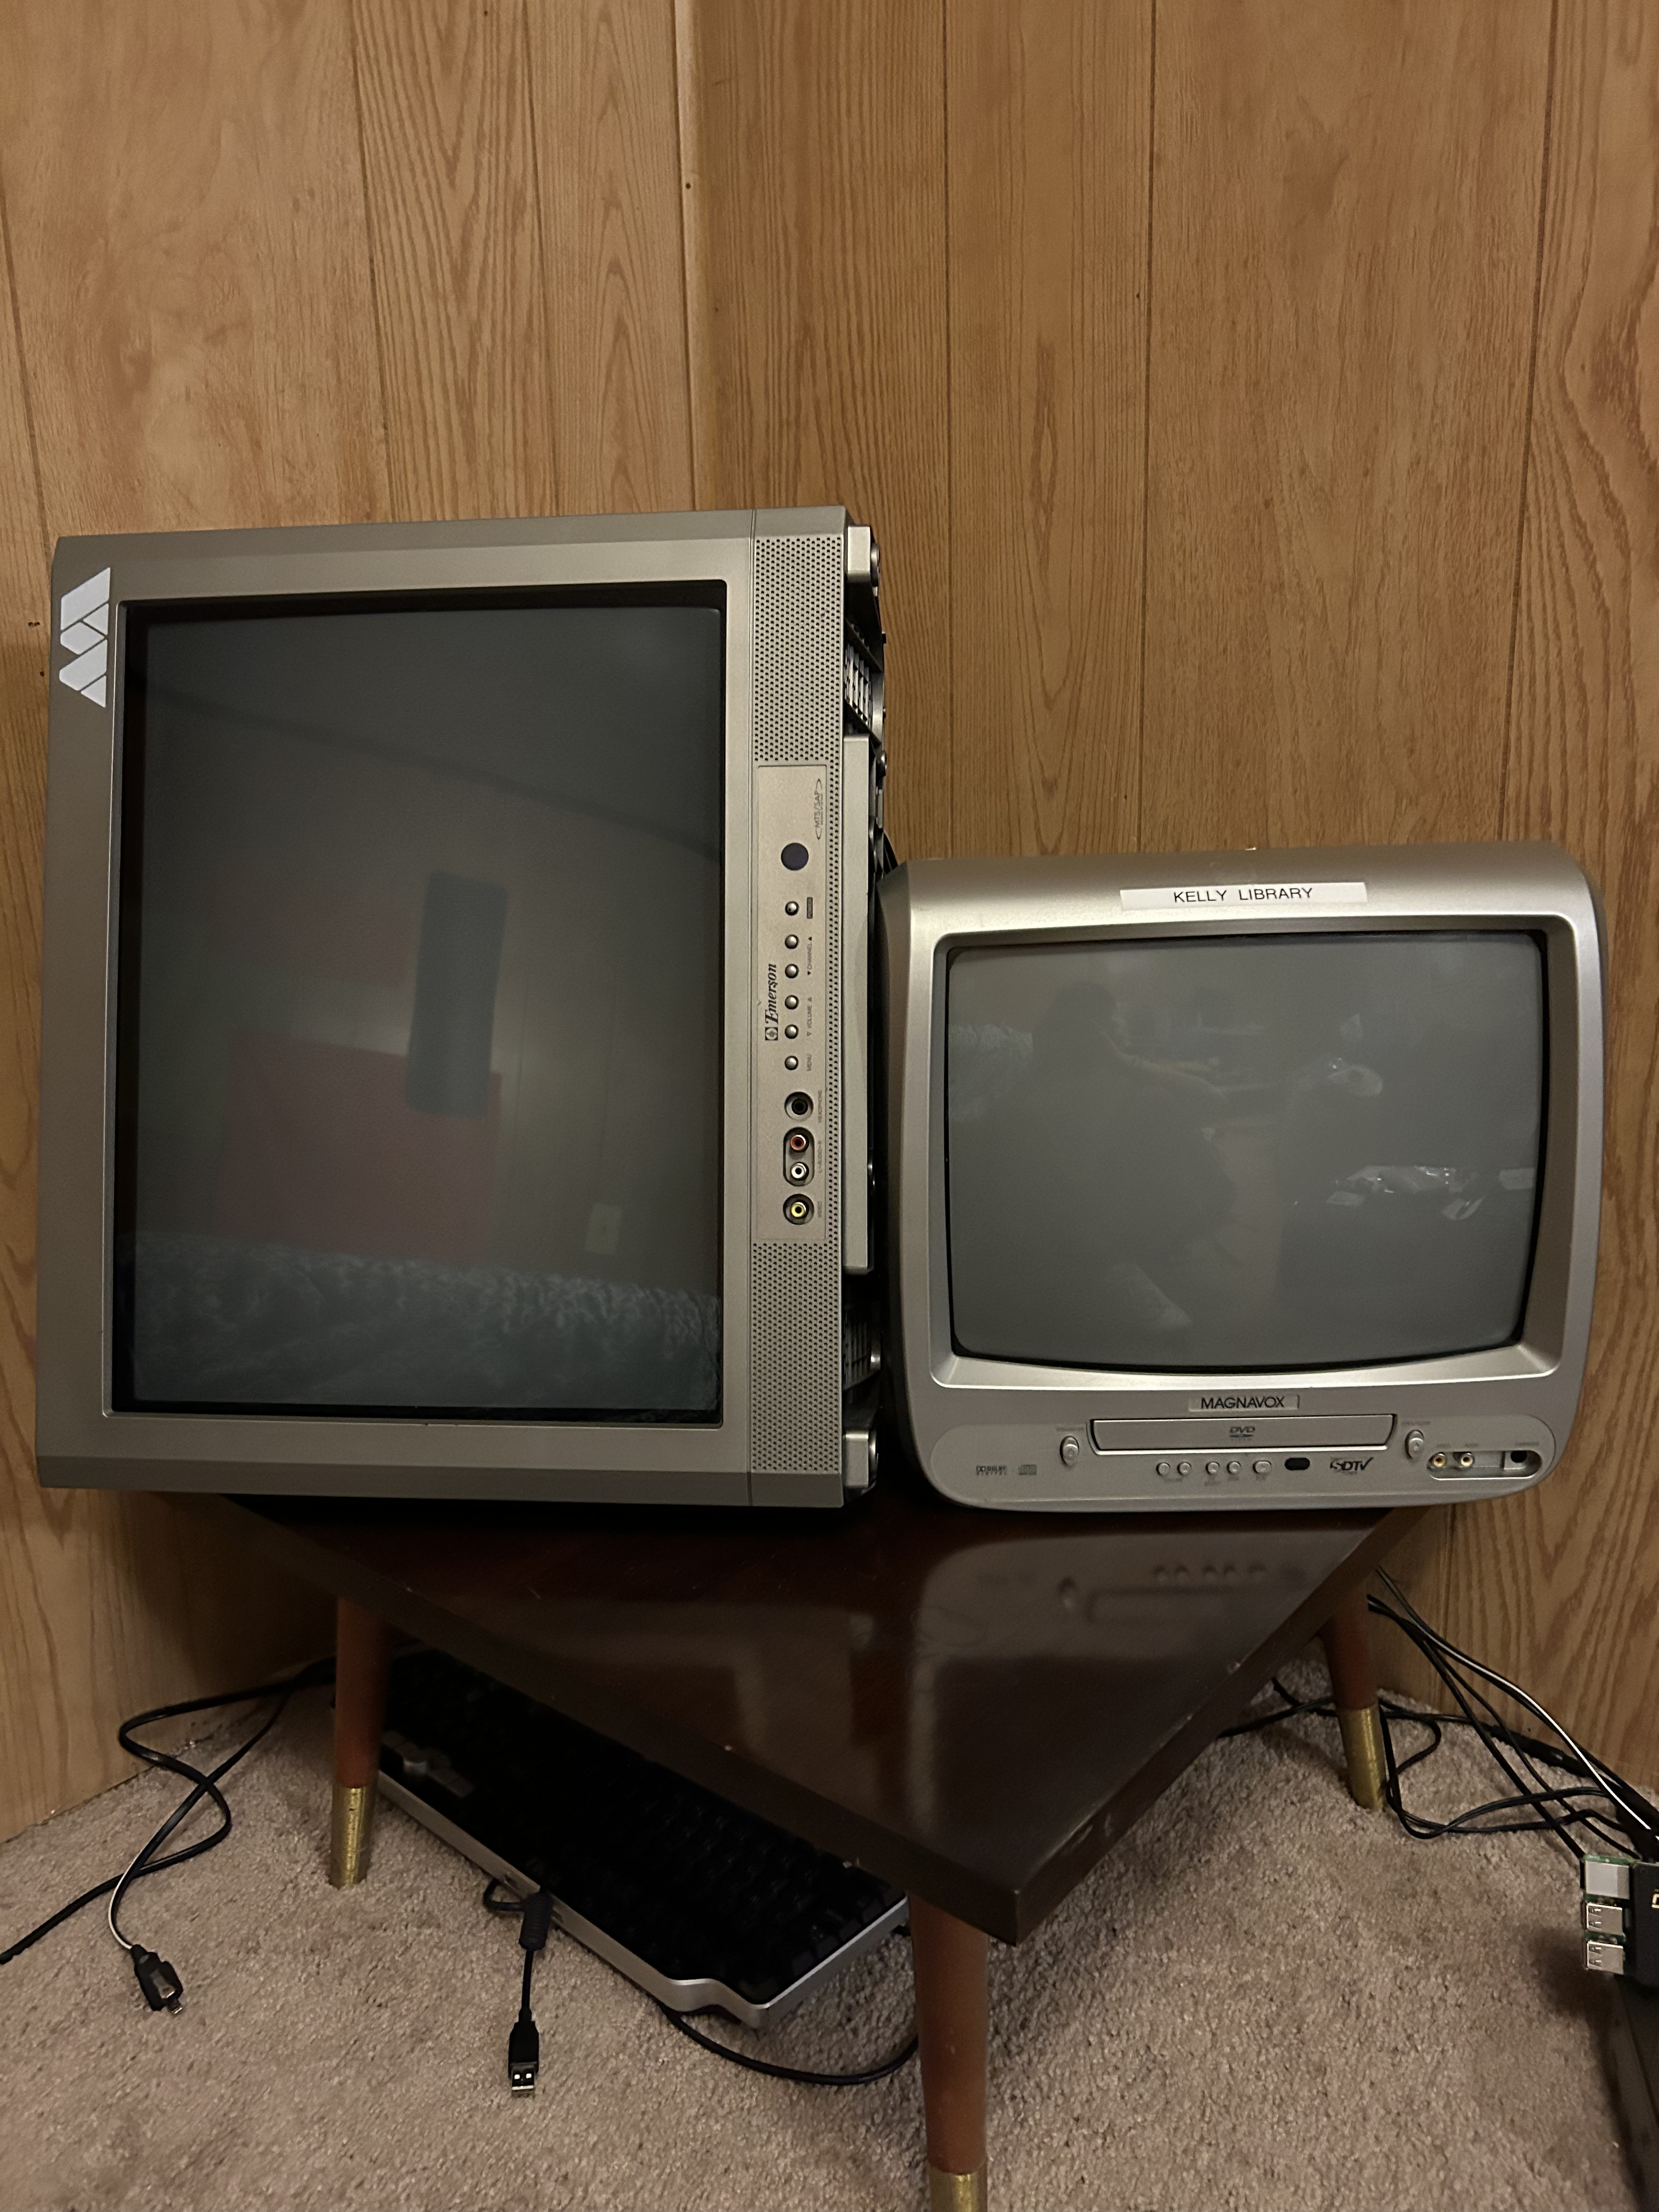
The first CRT (Magnavox CD130MW8) I acquired courtesy of the library of a local university. As such, the TV itself has seen better days. There is a noticeable scratch in the glass and is lovingly labeled with silver sharpie on it's topside. Additionally, while there is a DVD player integrated in (cool!), the only input is a front facing composite port (less cool…). The picture quality on this thing is “meh”, and without a working remote, thus no reliable way to enter the service menu, what you see is what you get with this one.
The second CRT (Emerson EWF2004) I acquired at a local estate sale, for about $20. This TV is in great condition physically, and this time around, it came with a remote and has S-Video support! Unfortunately though, I was unable to check the picture quality at the time of purchase, effectively gambling away my $20. After cleaning her up and getting everything situated, I booted her on and……
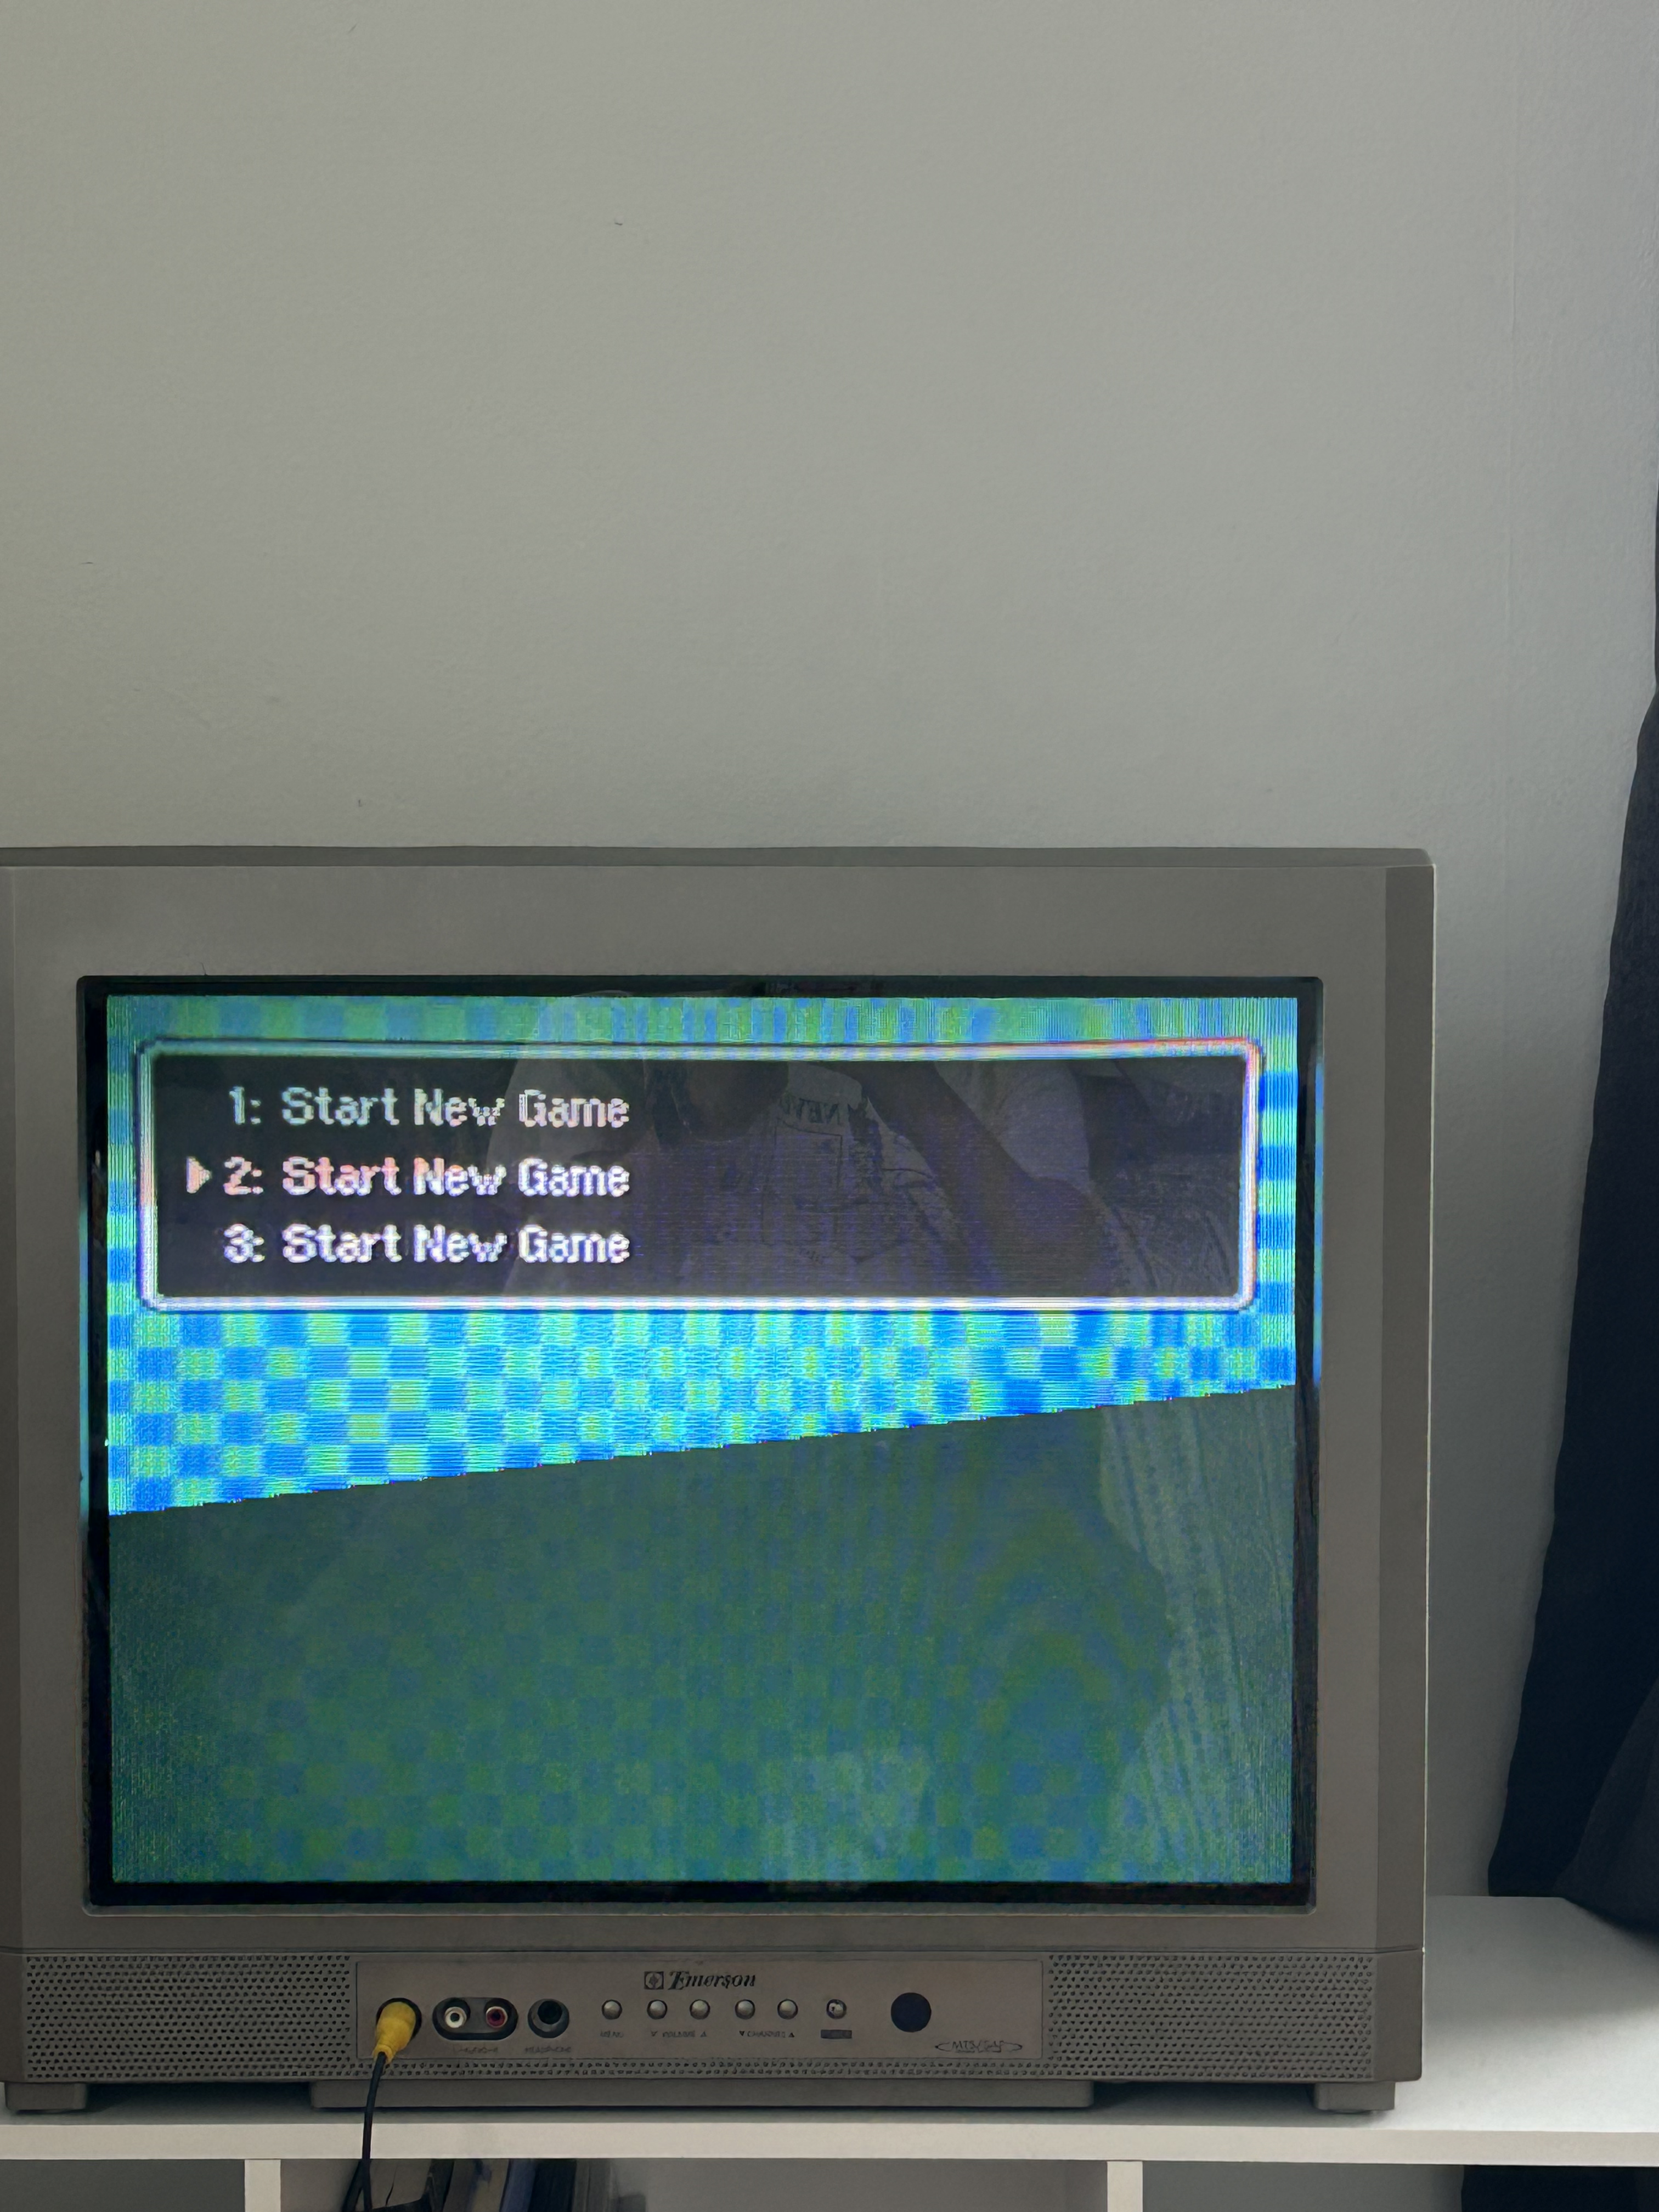
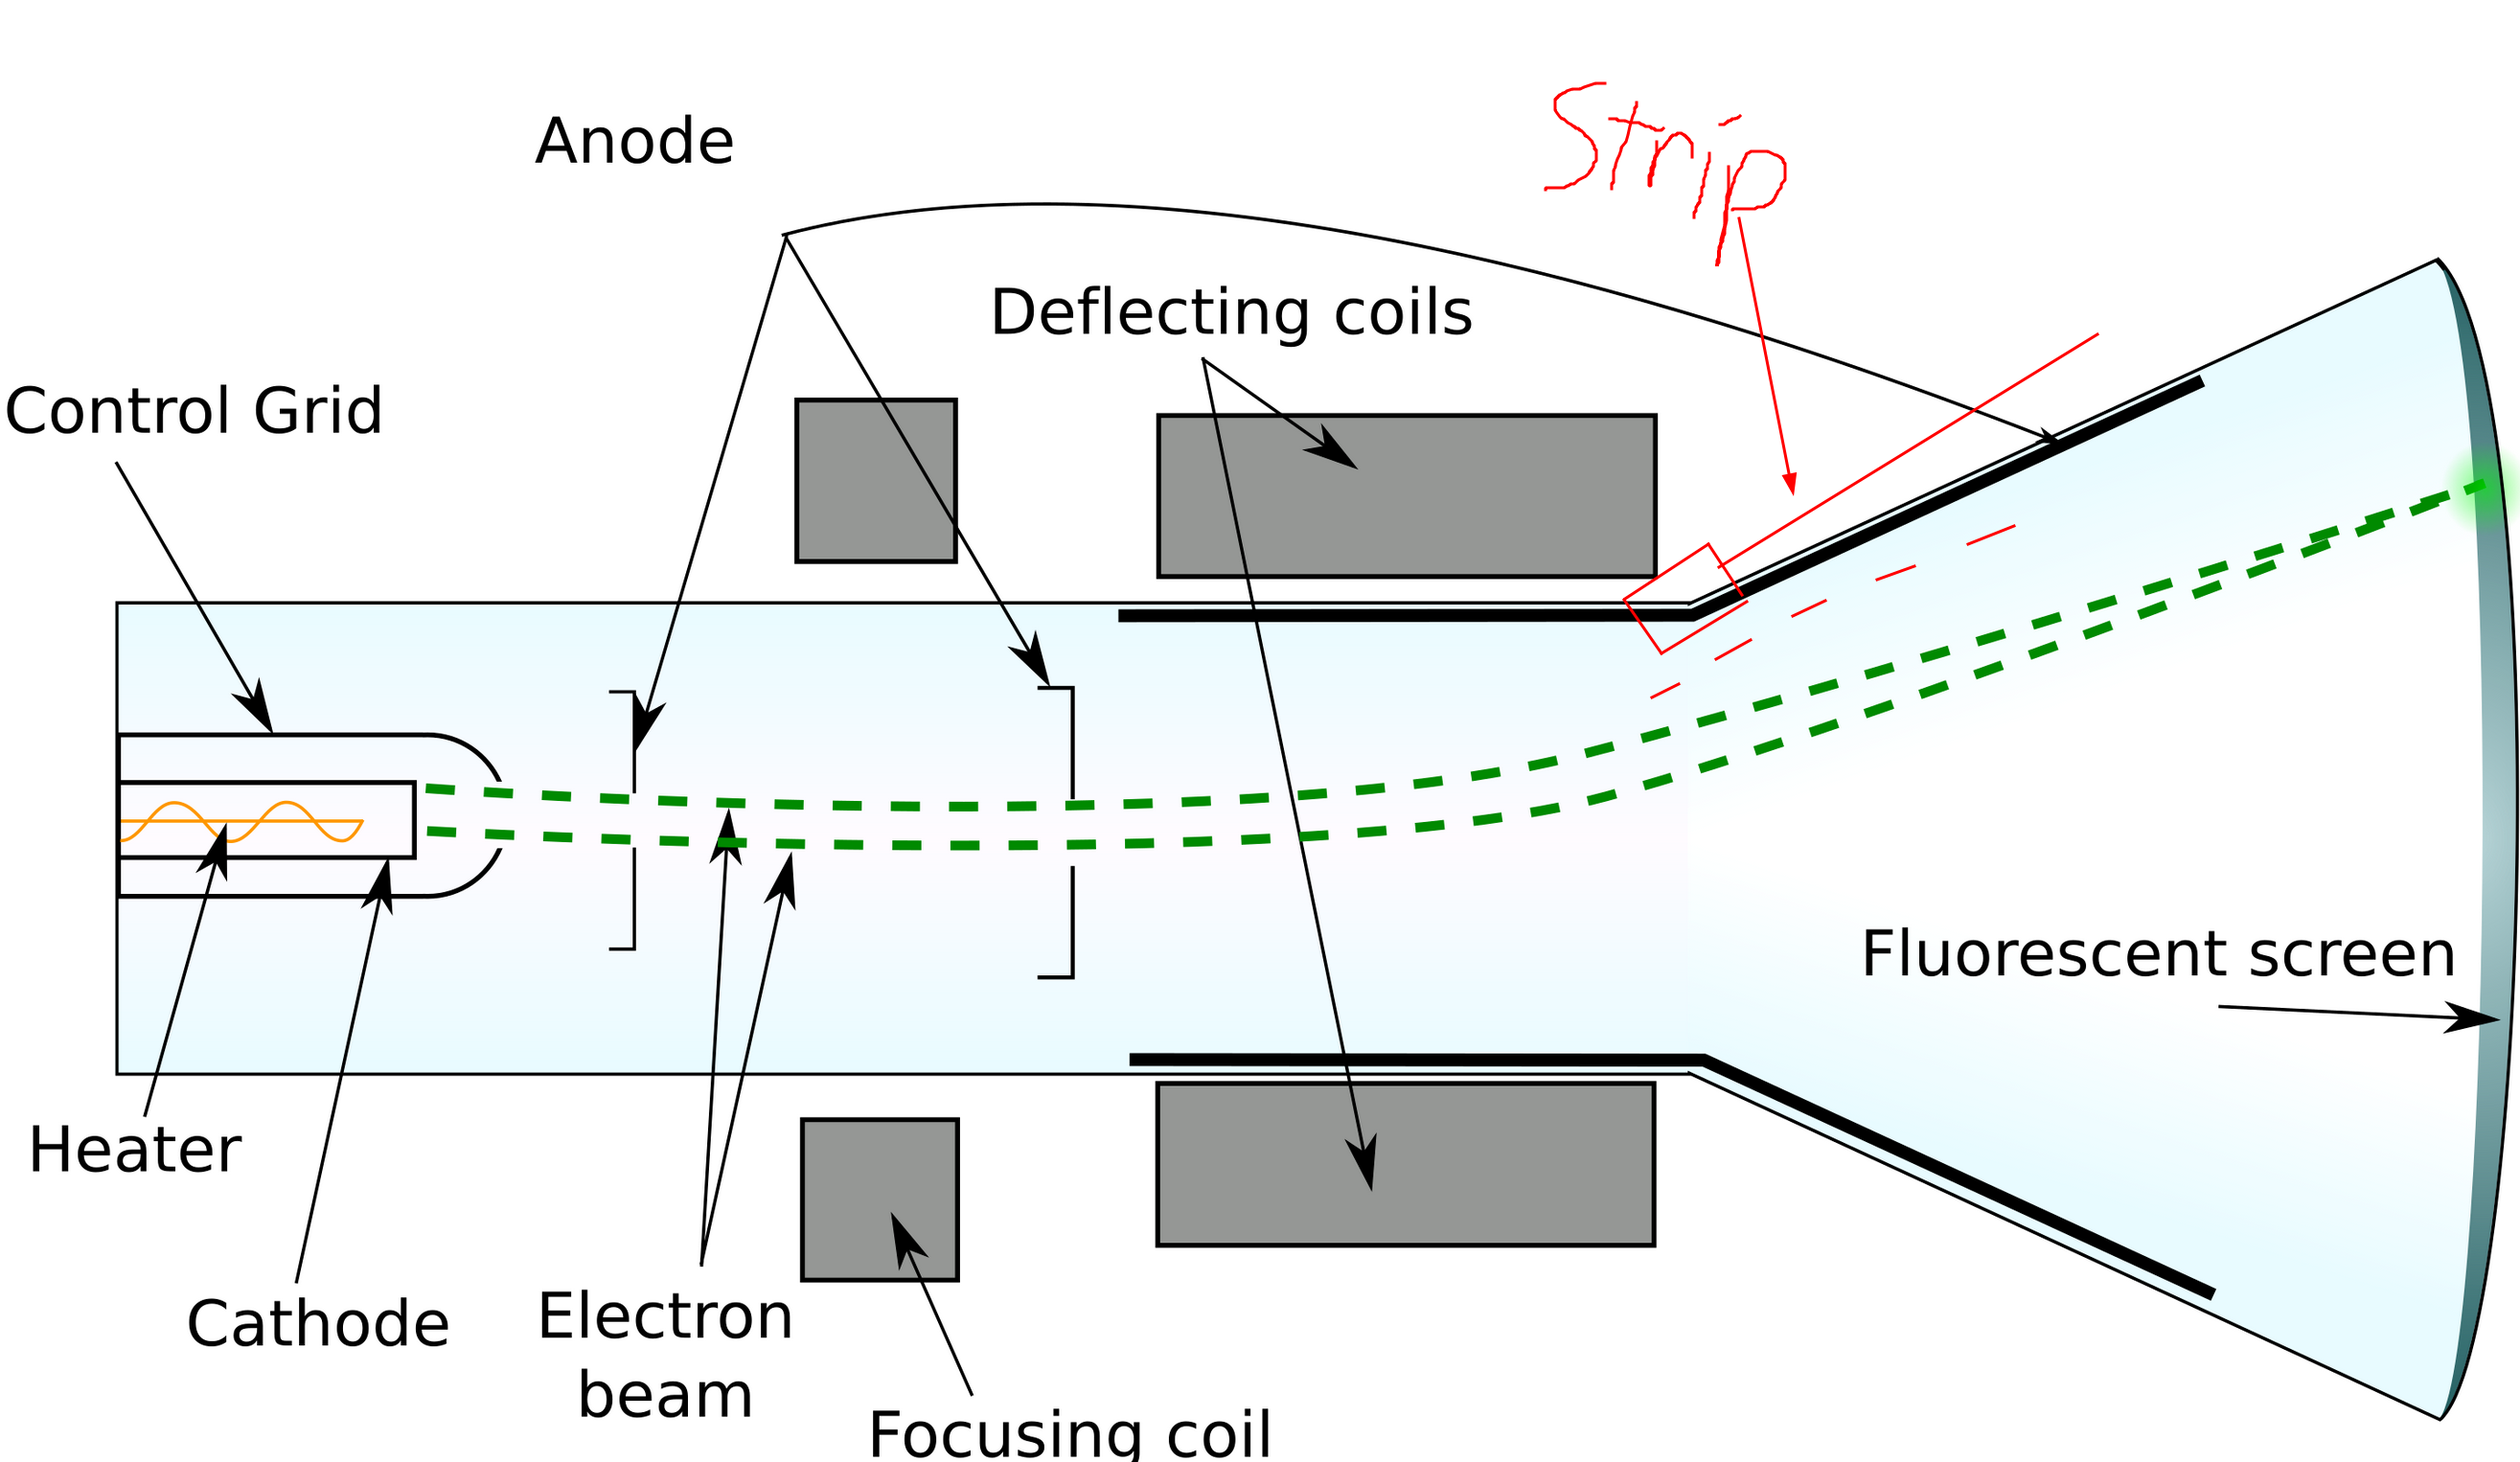
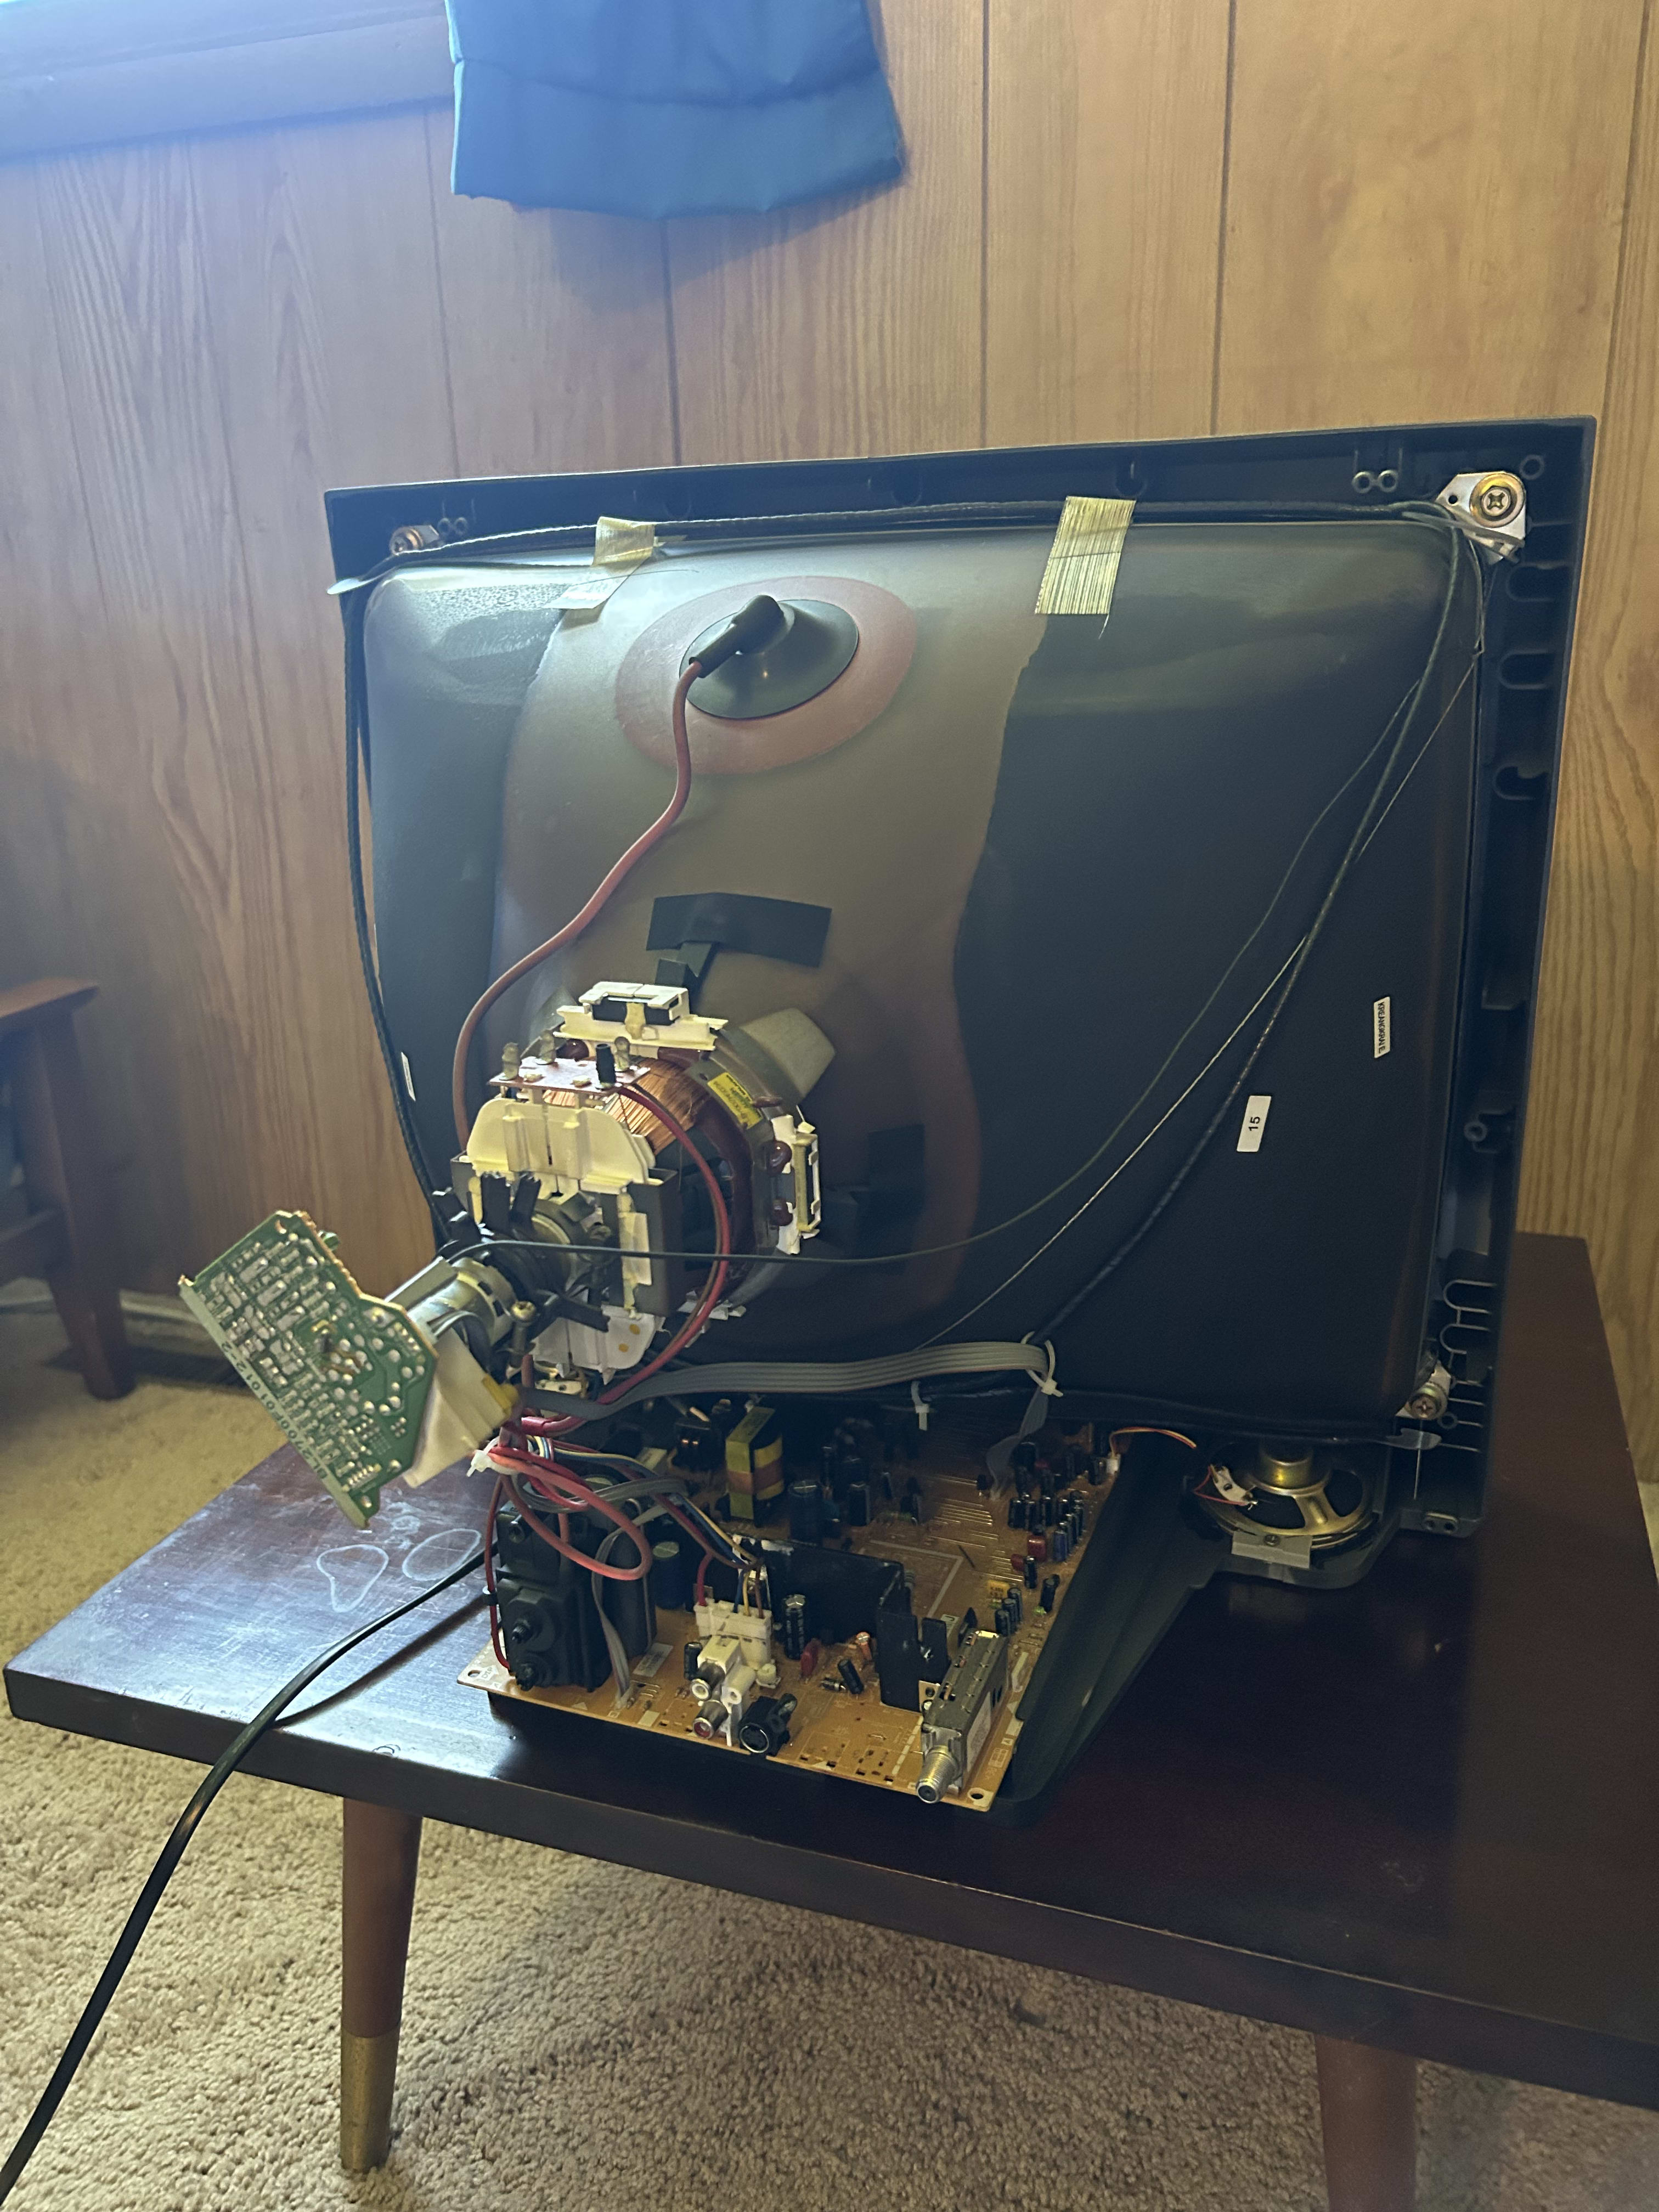
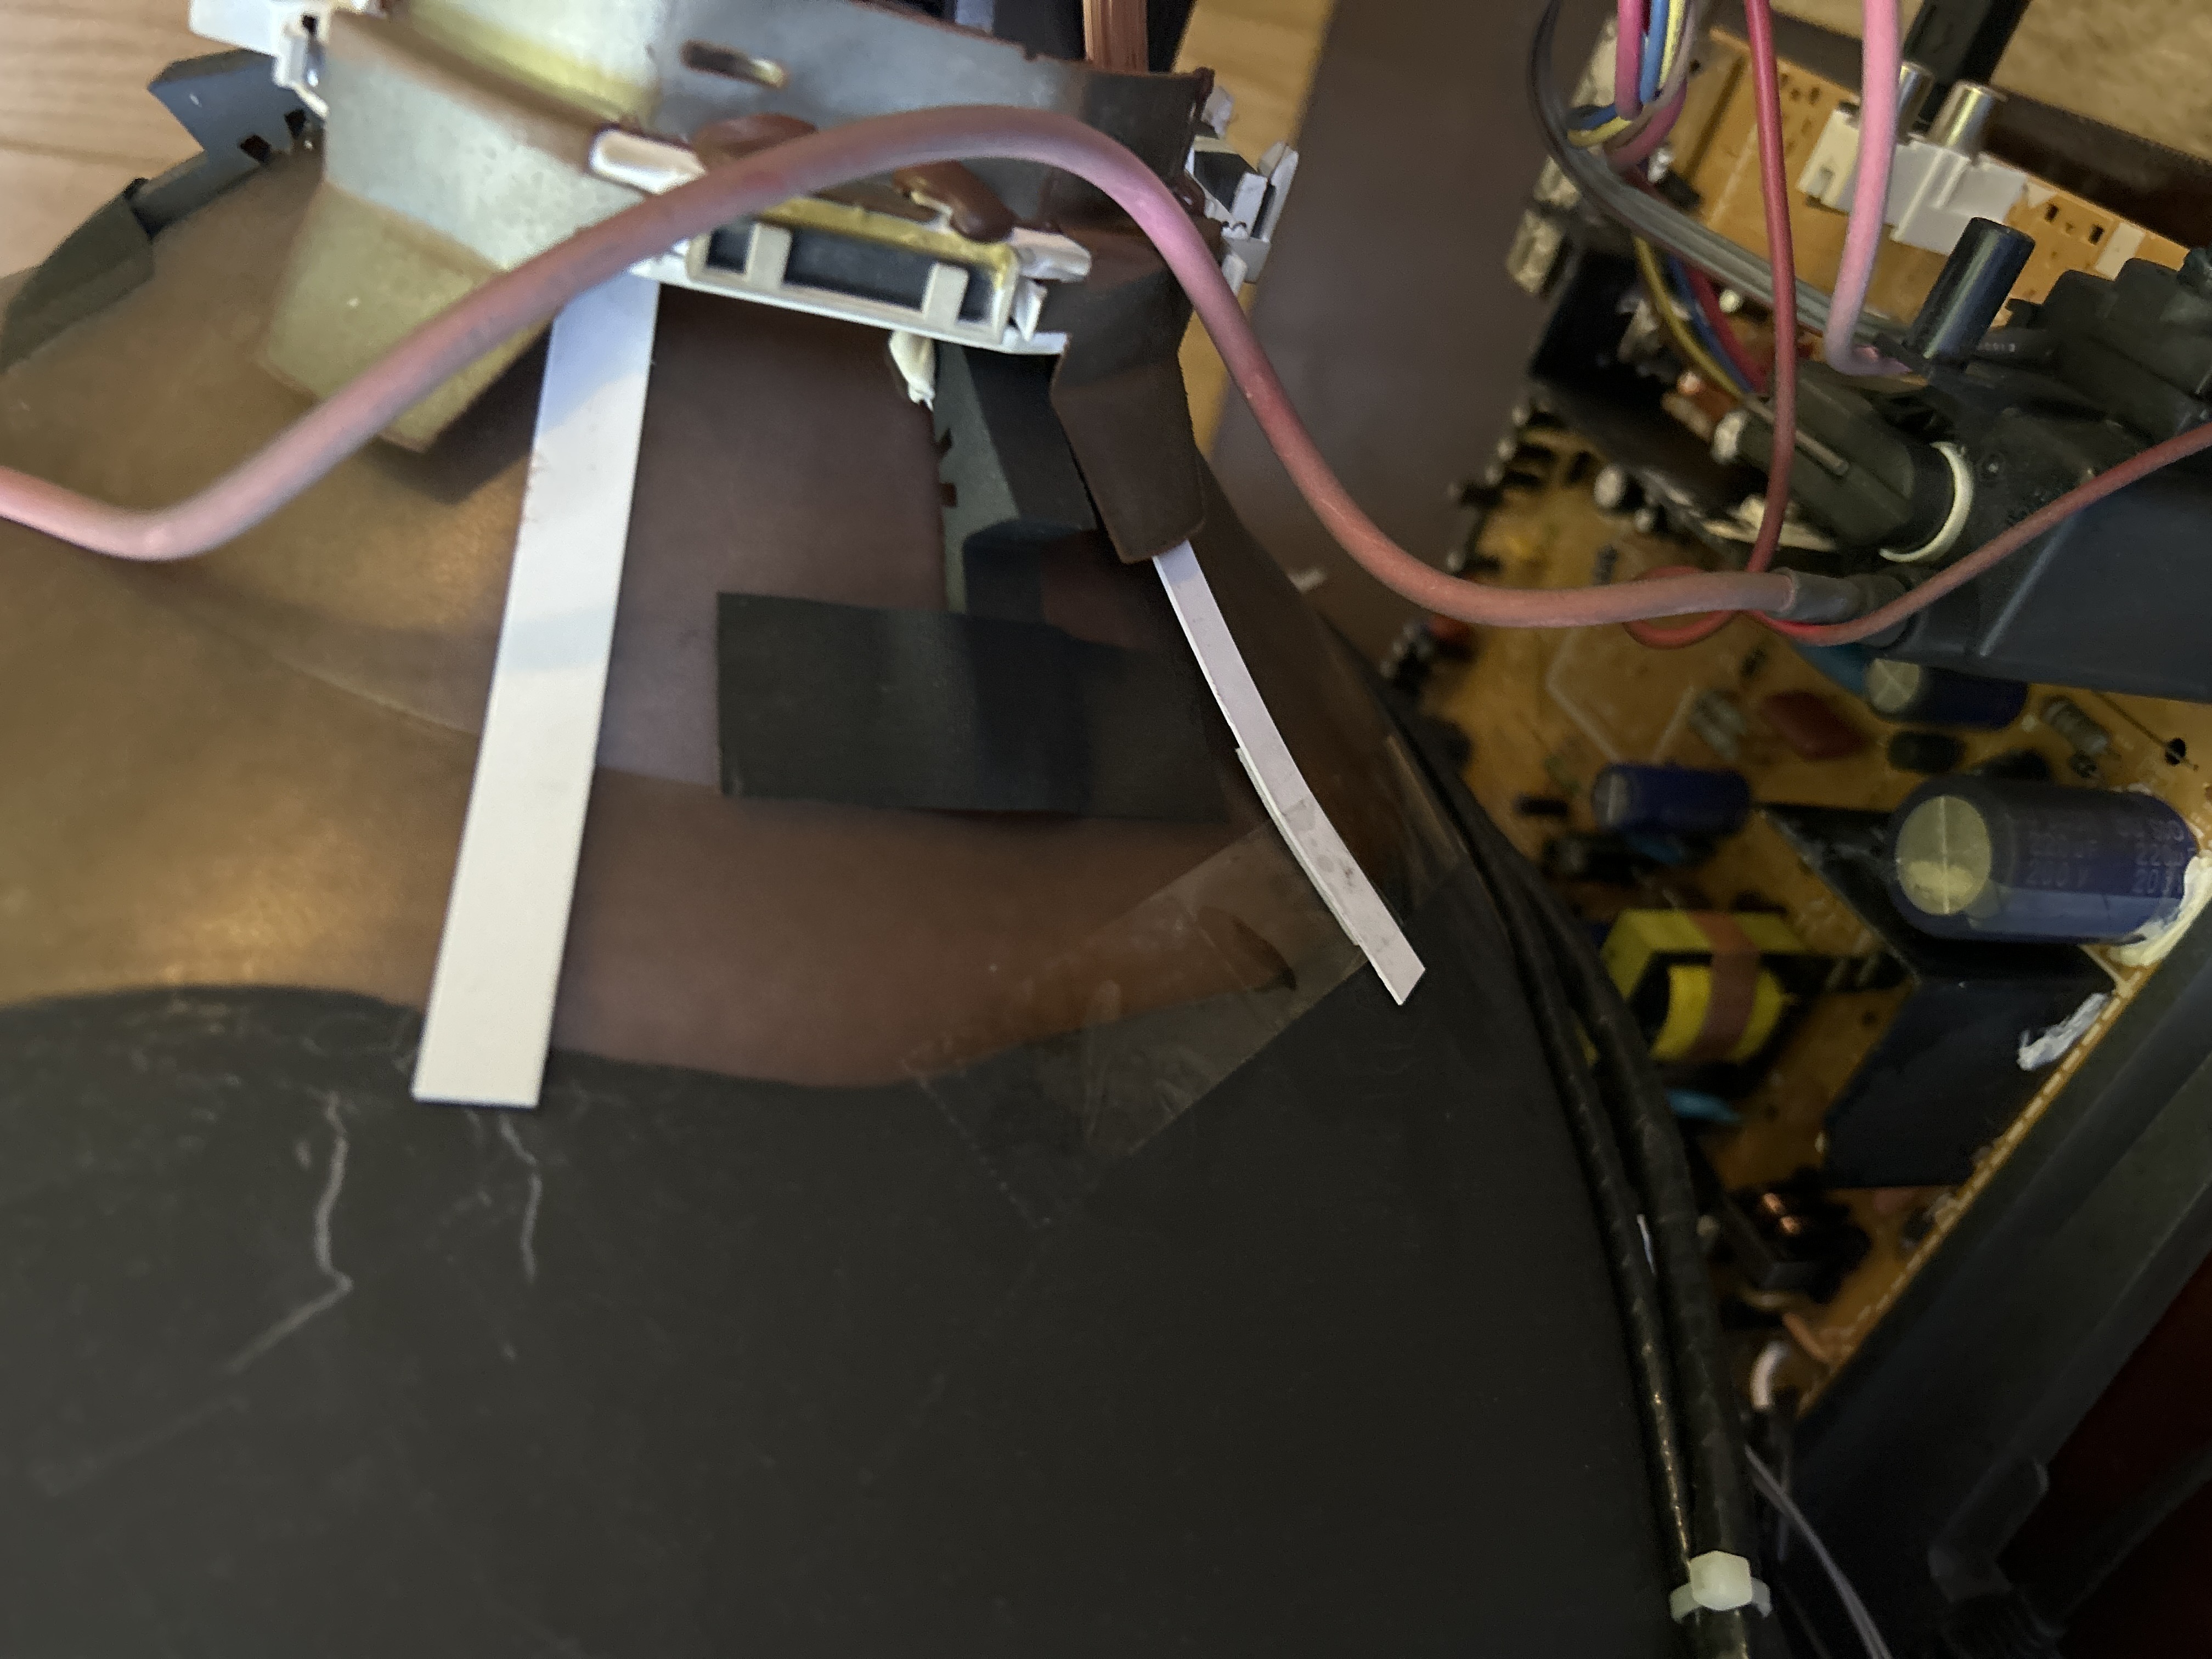
So, to the internet I went with my questions of “corner on CRT distorted”. After some sleuthing, I came across the terms “geometry” and “convergence”. It turns out, flat-screened CRTs on the whole usually have worse geometry than curved CRTs. This means that the shapes of images, especially in the corners, are more susceptible to distortion. Check out this article for a detailed explainer. So, the question became: “How do I fix this?”. I stumbled across this thread, which helped solidify my understanding of the issue: the electron gun isn’t aimed correctly. Following this thought I asked myself: “How do I aim the gun?”. This led to my discovery of “convergence strips”. The idea is to slide a weak magnet in the yoke / deflection coil of the CRT to help “pull” the electrons where you want them to go. [See the diagram below for further detail]. Thankfully, there are people who manufacture and sell these strips on Etsy. So, I placed my order and went to work! (You can also make your own strips, see this great thread.)
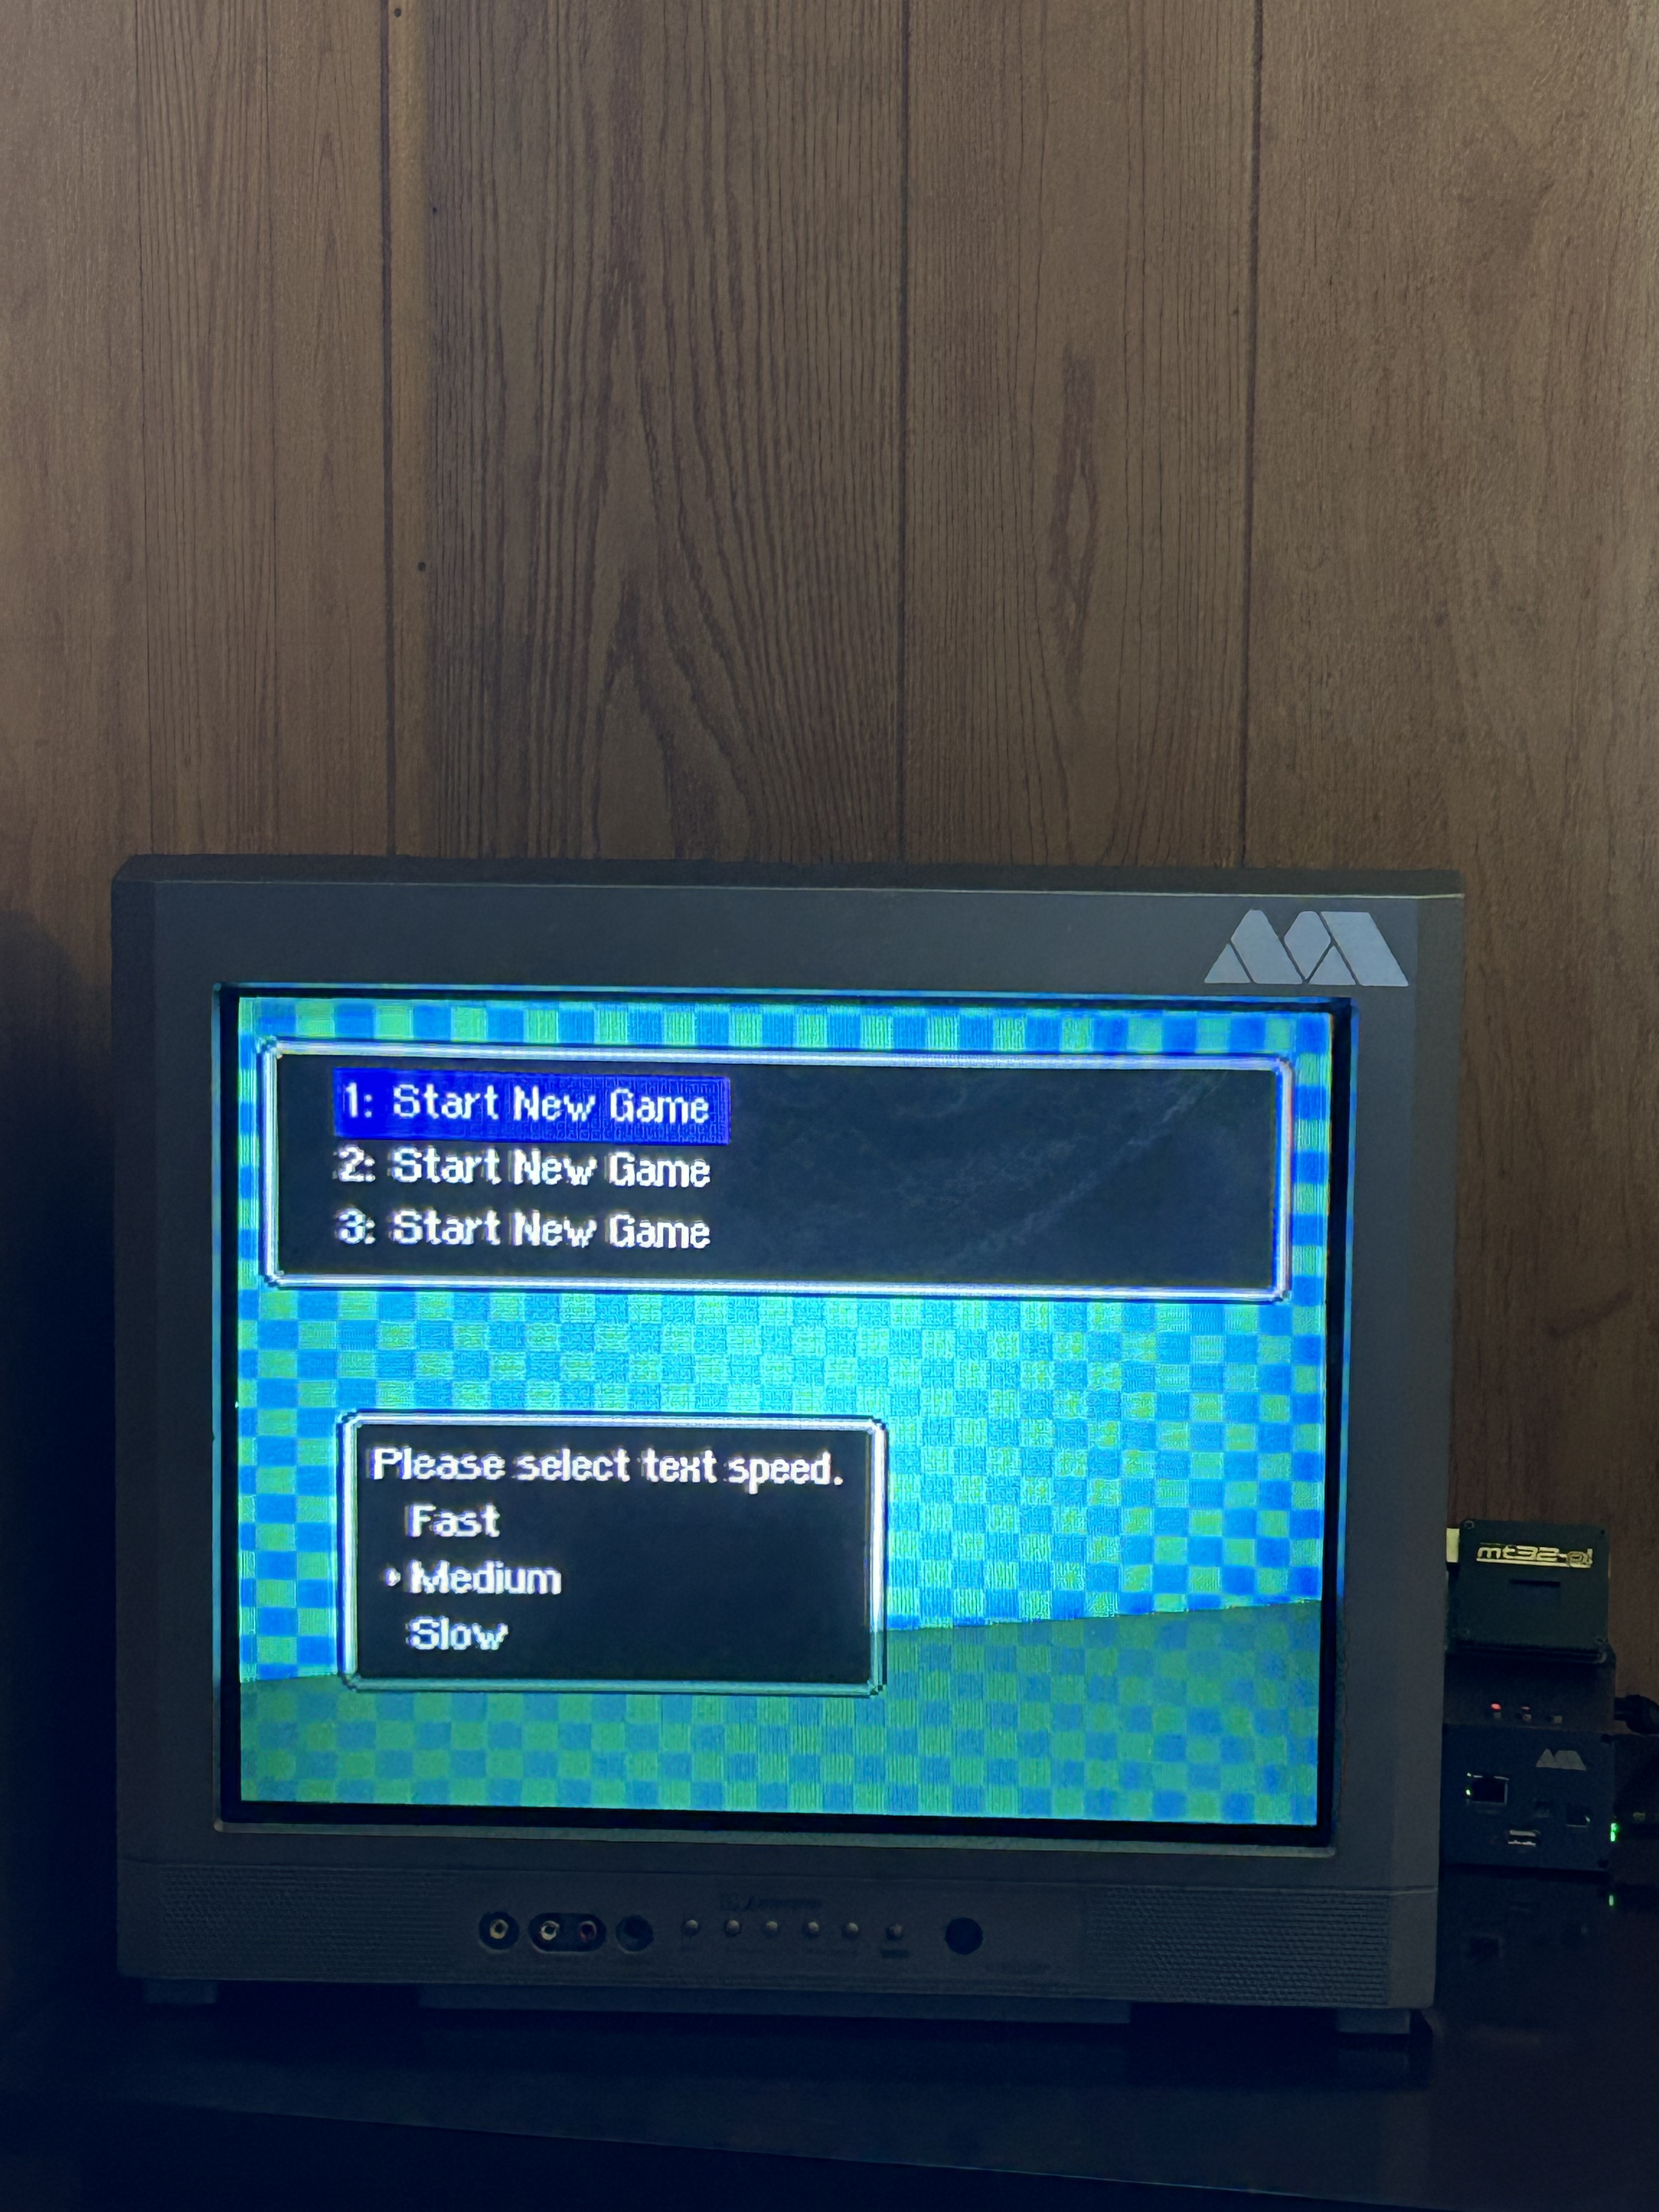
Suffice to say, my first two attempts at getting a dedicated CRT with decent picture quality were lackluster. Because of this, I kept my eye out for a while for a PVM or otherwise decent Sony Trinitron. After over a year of lurking, I stumbled across a listing for a cute Toshiba CF13E23. A quick search for the model number yielded beautiful picture results and that it's even got an RGB mod! As it turns out, the seller is my literal neighbor, so I put on my boots, walked one house down, paid the man, and walked back, heavy ass box in hand.
Now, certainly the main use case for this CRT is to connect it to my MiSTer for retro gaming / computing goodness. However, I’ve always wanted to set up a sort of streaming device so that I can view 80’s / 90’s anime content on a device that it would have been displayed on during its time. After much deliberation on how to go about this: purchasing an old Roku that has a composite out (too costly, no software updates), purchasing a dedicated hdmi downscaler (janky, low quality signal, no control over aspect ratio), and using MiSTer Cast (requires a dedicated windows machine), I discovered that the Raspberry Pi 3 series have a dedicated composite port built in to the device from the factory. This means that for about $40, I can host a dedicated media center, outputting natively to my CRT. And sure enough, it worked! Maybe now I’ll actually watch something…
How To
The following is a compilation of steps that I used to get OSMC and Plex working via composite signal on a Raspberry Pi 3B.
- Follow the instructions on the OSMC site, to flash and set up the SD card for the Pi.
- With the Pi plugged into the CRT and the SD card inserted into the Pi, power everything on.
- Let the installation complete.
- After the install is finished, the Pi will reboot, show the OSMC splash screen, then boot to a blank screen.
- Power off the Pi.
- Remove the SD card from the Pi and insert it into your computer.
- Navigate to the root of the SD card.
- Create the file `config-user.txt’ if it does not exist.
- Add the following to the
config-user.txtfile:
display_auto_detect=1
dtoverlay=vc4-kms-v3d,cma-384,composite=1
dtoverlay=audio=on
dtparam=audio=on
- Add the following to the
cmdline.txtfile, making sure to NOT add a newline:
NTSC
video=Composite-1:720x480@60ie
PAL
video=Composite-1:720x576@50ie
- Insert the SD card into the Pi, and boot.
- You should now be getting a signal after the splash screen!
- Next, we need to update the UI to support a 4:3 aspect ratio.
- Navigate to the skin releases and download the
skin.osmc.4to3.zipfor your version of OSMC. - Copy this file to a USB drive.
- Insert the USB drive into the Pi.
- Navigate to the add on manager in OSMC.
- Install the skin.
- Apply the skin.
- Reboot.
- The OSMC UI should now be in 4:3!
- Finally, to set up Plex, navigate back to the add on manager.
- Install the
Compositeadd on. - Launch
Compositeand follow the instructions to set up Plex. - You can now stream to your CRT!
Guides Referenced: